Network Setup
In this guide we'll walk through setting up a Network with Creative Asset Groups, Advertisers, Campaigns, Ad Groups, Ads, Publishers, Channels, Sites, Zones, and Templates.
Create A Creative Asset Group
First thing we're going to do is to create a Creative Asset Group (CAG) that will define the structure of our Creatives. We're going to create a "Product" CAG that will be useful for any type of product, but we'll be using it for shoes.
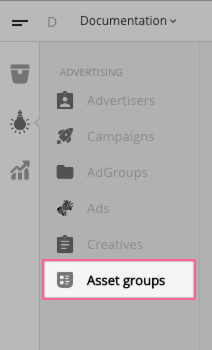
Our Creatives will need the following fields: Brand, Model, Price, and Description. First, we click on "Asset Groups" in the nav menu:
Next, we name our CAG and we create fields for Brand, Model, Price, and Description:
Setting up an Ad
Next, we'll need to add our first Advertiser and Creative to our system. To do this we navigate to the Advertisers section, and add an Advertiser:
After we create our Advertiser, we can add a Creative to it. Notice that once we select Product as the CAG, the fields we set become available to edit:
Once we have a Creative set, we'll create a Campaign, Ad Group, and Ad.
Within an Advertiser a Campaign is where we store everything related to a particular offer or product. To create a Campaign, click the "Campaigns" button in the Advertiser row. Then on the Advertiser's Campaigns page, click "Add Campaign":
Once we have a Campaign, we can create an Ad Group. Ad Groups control targeting an allow us to choose which visitors would be able to see our ads. An Ad Group can have targeting based on frequency (such as impression, click, and action caps and rate limits), time of day, geography, and custom criteria.
For this example, we're going to use custom criteria targeting. By having each Ad Group target different custom criteria, when we build our form, different Ads will show based on what their Ad Groups allow.
This Ad Group is for our "Joan of Arctic" women's boot, therefore we're going to create an Ad Group that targets "women" and "boots." Later, when we create our form, we'll expect this Ad Group to show when the "women" and "boots" options are selected.
To create an Ad Group, click the "Groups" button in the "Joan of Arctic" Campaign row, and then click "Add Ad Group". Next, we name the Ad Group, choose our "Product" CAG, and set our custom targeting:
We have set our Ad Group up so that its Ads (we'll create these in a moment) will only show if the visitor is tagged with gender: women or shoeType: boots. Once we get to the Publisher side of things, we'll show how to tag visitors with criteria.
Now that we have an Ad Group, we can create Ads which link an Ad Group to a Creative. To do this, we select "Ads" from our Ad Group's row, and then click "Add Ad":
We now have an Ad that is ready to be shown to a visitor. Let's set up our inventory so that we can see it.
Setting up Inventory
For Ads to be displayed, we'll need to set up the following:
- Publisher: the organization responsible for bringing traffic
- Channel: a vertical or category of traffic
- Site: a website that belongs to a channel/vertical/category
- Zone: a place on a page that houses the ad unit
We can create all of these in one step. To do this, from the nav menu, we'll choose "Inventory", then "Publishers", and click "Add Publisher." Next we fill out the form to create a Publisher, Channel, Site, and Zone.
Once we have our Publisher, we can create a Template. A Template is a Publisher's design for what a particular CAG ("Product" in our case) will look like in a particular Zone (in this case, "Shoes").
Templates are pretty simple, they are just HTML and CSS using Mustache to render the creative fields.
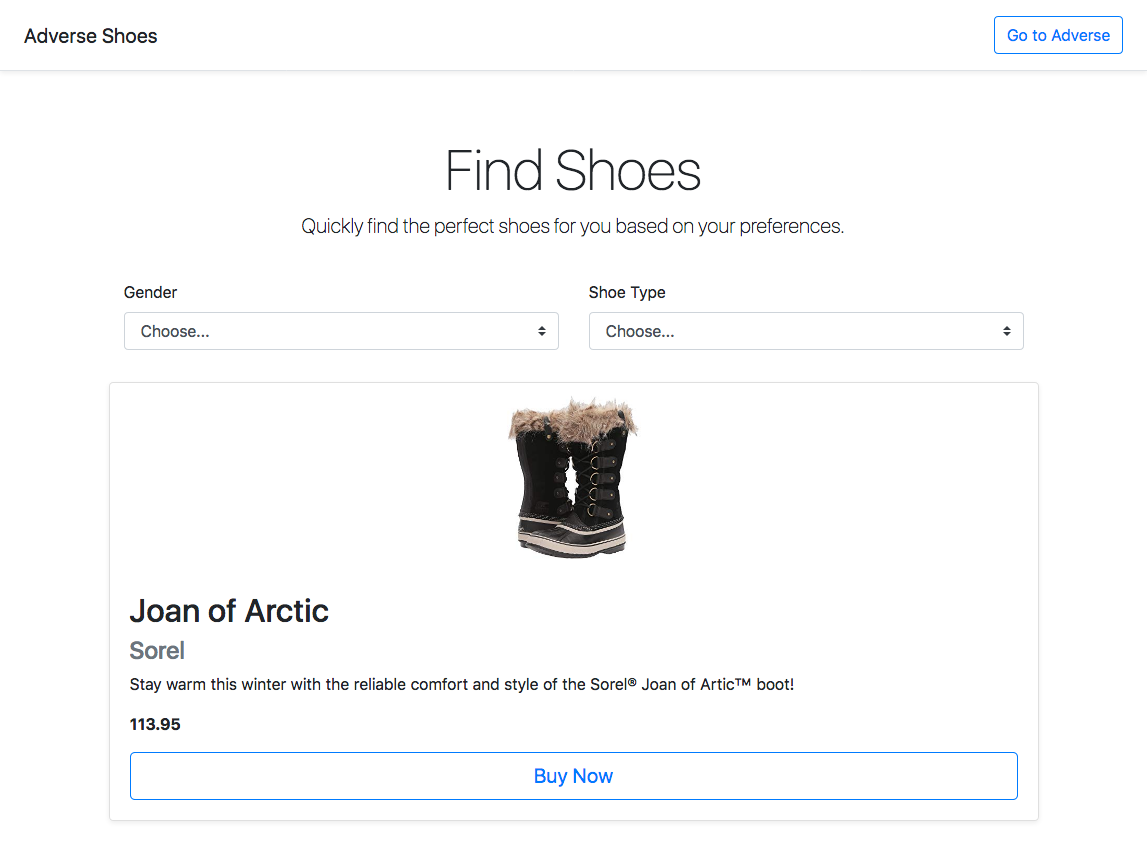
However, before we create our Template, let's build out our simple Shoe site. We can hard-code a test ad while we're building it, and once it looks good, we can easily pull it into Adverse.
Here's what our page looks like:
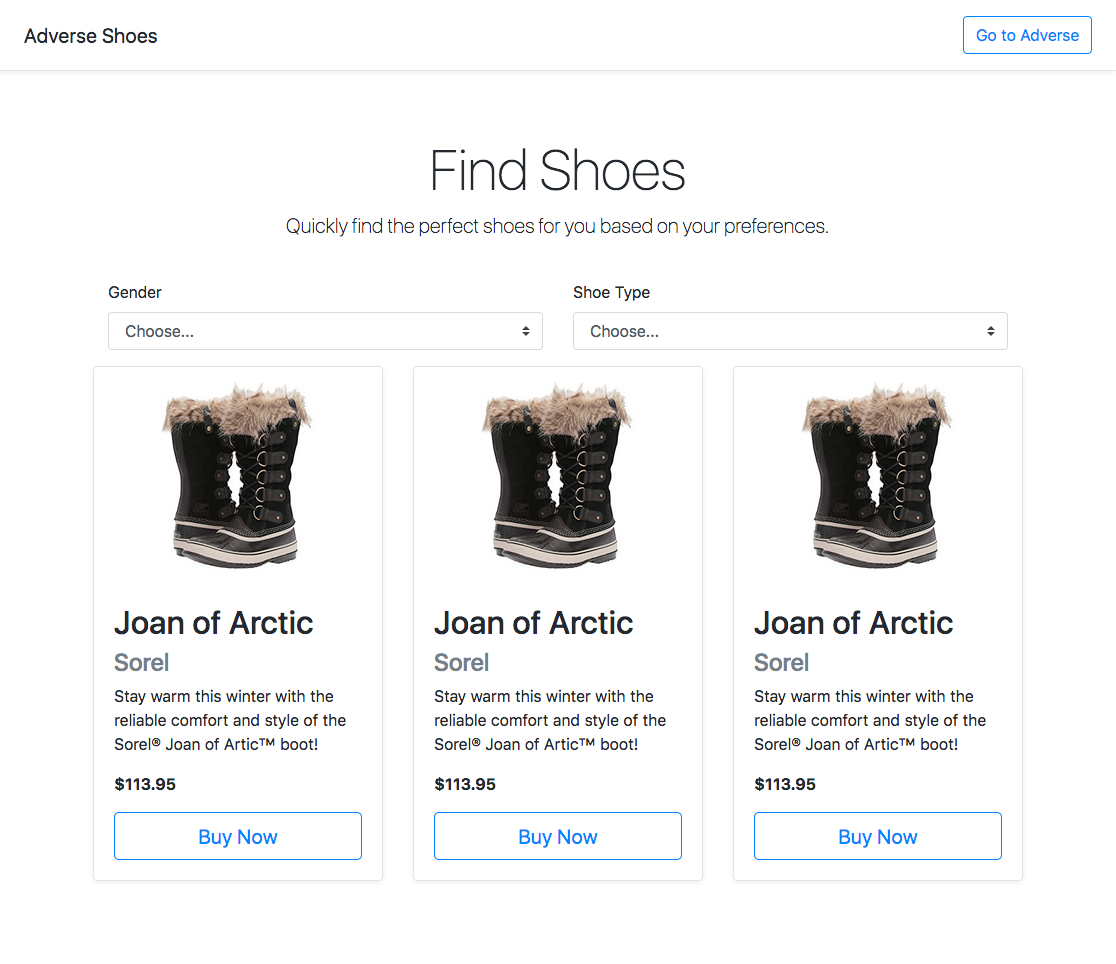
Here's the HTML for a single ad:
<div class="card-deck ">

  <div class="card mb-4 shadow-sm">
    <img src="https://m.media-amazon.com/images/I/81NATCOSEtL._SX480_.jpg" alt="" class="card-img-top">

    <div class="card-body">
      <h2 class="card-title">Joan of Arctic</h2>
      <h4 class="card-subtitle mb-2 text-muted">Sorel</h4>

      <p class="card-text">
        Stay warm this winter with the reliable comfort and style of the Sorel® Joan of Artic™ boot!
      </p>

      <p class="card-text"><strong>$113.95</strong></p>

      <button type="button" class="btn btn-lg btn-block btn-outline-primary">Buy Now</button>
    </div>
  </div>
</div>
To convert this into a Template, we replace our hard-coded values with Mustache variables. There are just a few things to keep in mind.
First, our "Product" CAG has four fields that are available as variables: model, brand, description, and price.
Second, Adverse also provides two special variables: href, the Creative's target URL and src, the Creative's image url.
Third, our Template will render a collection of Ads. In our Template, ads is the collection of Ads that match the criteria, so we use the #ads ... /ads syntax to render each Ad.
Here's what that looks like:
<div class="card-deck">
  {{ #ads }}
  <div class="card mb-4 shadow-sm">
    <img src="{{ src }}" alt="" class="card-img-top">

    <div class="card-body">
      <h2 class="card-title">{{ model }}</h2>
      <h4 class="card-subtitle mb-2 text-muted">{{ brand }}</h4>

      <p class="card-text">
        {{ description }}
      </p>

      <p class="card-text"><strong>{{ price }}</strong></p>

      <button href="{{ href }}" target="_blank" type="button" class="btn btn-lg btn-block btn-outline-primary">Buy Now</button>
    </div>
  </div>
  {{ /ads }}
</div>
Now that we have the HTML for a Template, let's create one. We do this by navigating to our Publishers list and selecting "Templates" from the Publisher's row. Then we click "Add Template." On the Template creation screen, we will select the "Product" CAG and paste the above HTML in. If you have any custom CSS related to your template, you can paste that in too. For this example we'll use the following custom CSS:
.card-img-top {
    max-width: 250px;
    margin: 0 auto;
}
Here's what it looks like to create the Template:
With our Template created, we can now assign it to our zone. First, use the navigation menu to choose Zones. Then click the Edit button in the Zone's row. On the edit screen, we can choose how many ads should show in our zone, and we can select the "Product" Template:

We can now add our Zone to our page. In the Zone's row (same place we clicked "Edit" a moment ago), there is a "Copy Script" button. By clicking this button, we will add our Zone's HTML snippet to our clipboard:
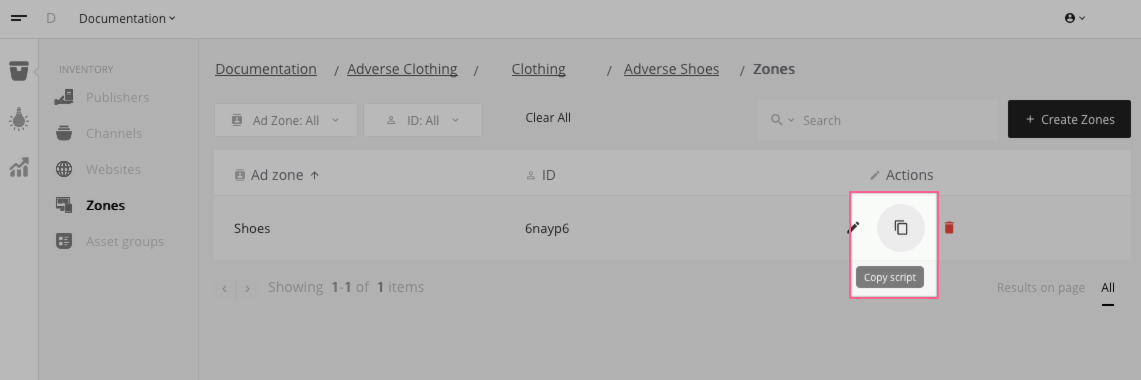
And here's what that HTML looks like:
<script
  src="https://adverse.lincx.la/ad"
  data-zone-id="6nayp6">
</script>
We can now replace our hard-coded ads in our mockup with this snippet. However, we need to add the correct targeting criteria before our Ad Group will show Ads.
Our Ad Group will only show Ads if gender is women and shoeType is boots. Here's how we can specify both criteria:
<script
  src="https://adverse.lincx.la/ad"
  data-zone-id="6nayp6"
  data-gender="women"
  data-shoe-type="boots">
</script>
Now that we've added the criteria, we can replace our mockup ads with this snippet. We will change this:
<div class="card-deck ">
  <div class="card mb-4 shadow-sm">
    <img src="https://m.media-amazon.com/images/I/81NATCOSEtL._SX480_.jpg" alt="" class="card-img-top">

    <div class="card-body">
      <h2 class="card-title">Joan of Arctic</h2>
      <h4 class="card-subtitle mb-2 text-muted">Sorel</h4>

      <p class="card-text">
        Stay warm this winter with the reliable comfort and style of the Sorel® Joan of Artic™ boot!
      </p>

      <p class="card-text"><strong>$113.95</strong></p>

      <button type="button" class="btn btn-lg btn-block btn-outline-primary">Buy Now</button>
    </div>
  </div>

  <div class="card mb-4 shadow-sm">
    <!-- Card 2 Mockup -->
  </div>

  <div class="card mb-4 shadow-sm">
    <!-- Card 3 Mockup -->
  </div>
</div>
to this:
<script
  src="https://adverse.lincx.la/ad"
  data-zone-id="6nayp6"
  data-gender="women"
  data-shoe-type="boots">
</script>
We currently only have a single Ad in the system, so after that change, this is what we'll see:
Wrapping Up
At this point we've completed our Adverse integration. We can add more Advertisers, Creatives, Campaigns, Ad Groups, and Ads. When we change data-gender and data-shoe-type the displayed Ads will change to match our Ad Group targeting.