Dynamic Form Tutorial
In this tutorial we're going to show how we can use Adverse to dynamically filter results with form controls.
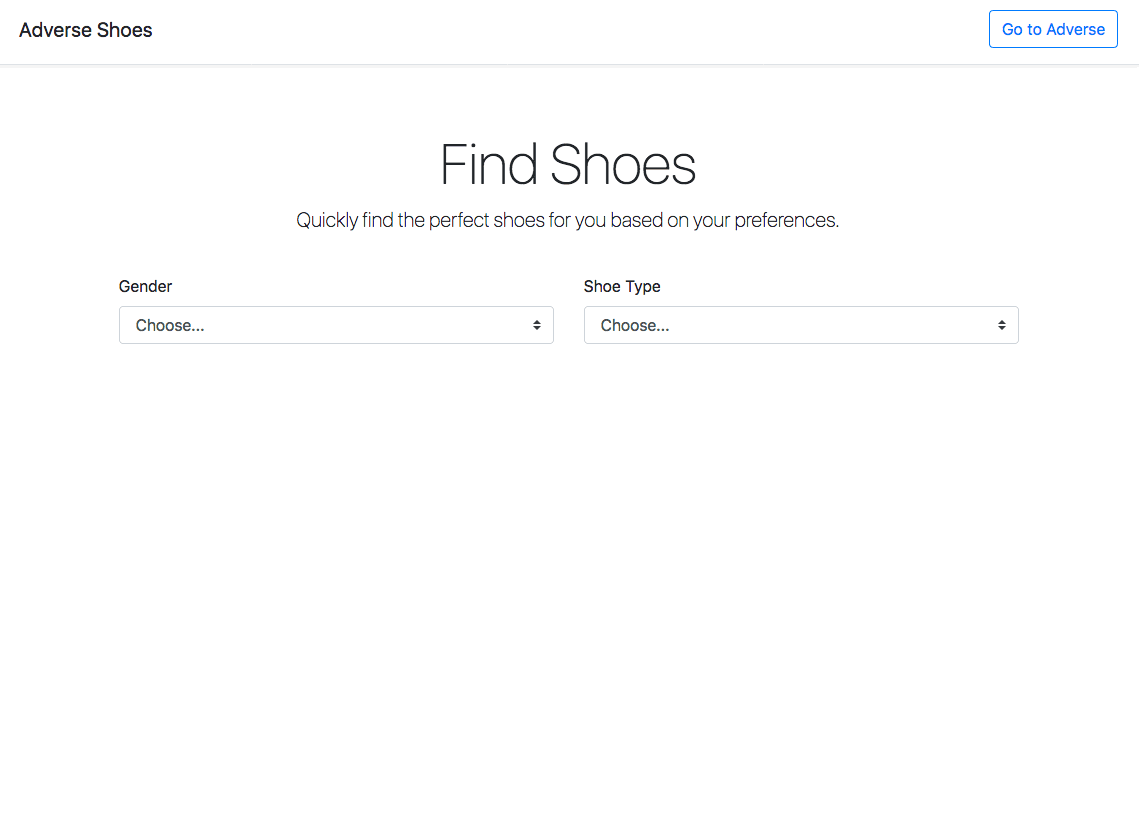
For the purpose of this example we're going to be creating an e-commerce display, but this will work just as well for leads or surveys.
Here's a live demo of what we'll be showing how to build:

Setting Up Your Network
Before we continue, please make sure that you have a complete Network. Follow the Network Setup Guide if you'd like to see how we created the Network used in this guide.
Dynamic Rendering
Currently our Ad Client script is in "automatic" mode. It will automatically render ads at the script's location on the page.
However, if we want the Ads to change in response to changes in the form responses, we'll need to change our Ad Client so that it starts in "manual" mode:
<script
  src="https://adverse.lincx.la/ad"
  data-manual-render="true">
</script>
Because we've placed the Ad Client in "manual" mode, we don't need to set the zone ID or the criteria here, we will do that with JavaScript. Here's how we can perform the same behavior of "automatic" mode:
<div id="adverse-target"></div>
<script
  src="https://adverse.lincx.la/ad"
  data-manual-render="true">
</script>
<script>
  window.adverse(document.getElementById('adverse-target'), {
    zoneId: '6nayp6',
    gender: 'women',
    shoeType: 'boots'
  })
</script>
Of course, there's no reason to use "manual" mode to do the same thing as "automatic." The advantage is that we have a lot more flexibility in "manual" mode. Let's now change our code so that we only render ads once the form changes:
<script>
  var target = document.getElementById('adverse-target')

  var genderSelect = document.getElementById('gender')
  var shoeTypeSelect = document.getElementById('shoeType')

  genderSelect.addEventListener('change', onInputChange)
  shoeTypeSelect.addEventListener('change', onInputChange)

  function onInputChange (evt) {
    target.innerHTML = ''
    window.adverse(target, {
      zoneId: '6nayp6',
      gender: genderSelect.value.toLowerCase(),
      shoeType: shoeTypeSelect.value.toLowerCase()
    })
  }
</script>
Once we replace our simple JavaScript code with the above, we can see that our Ad will only render when both gender is women and shoeType is boots:
Wrapping Up
Once we control the ad rendering with our JavaScript, the only thing left to do is add more Advertisers, Creatives, Ad Groups, and Ads. Here's what our page looks like when there are more Ads to choose from: